CARAMELIZED ONION AND BACON DIP
The name itself made my mouth water. The title alone had me at hello. And then I was reading the ingredients and saw three types of cheese. I’m in.
I love how an onion in raw form can be not very tasty and smell like someone with really bad B.O., and then somehow in the cooking process they transform into delicious, sweet accompaniments for any meal. Imagine taking a big bite out of a raw onion. Now after you stop dry heaving, think of taking a big bite of caramelized onion. Totally different. My point is, even if you don’t like onions, you probably will love caramelized onions…I feel I can eat them plain.
Ingredients:

2 large yellow onions
10 slices of bacon
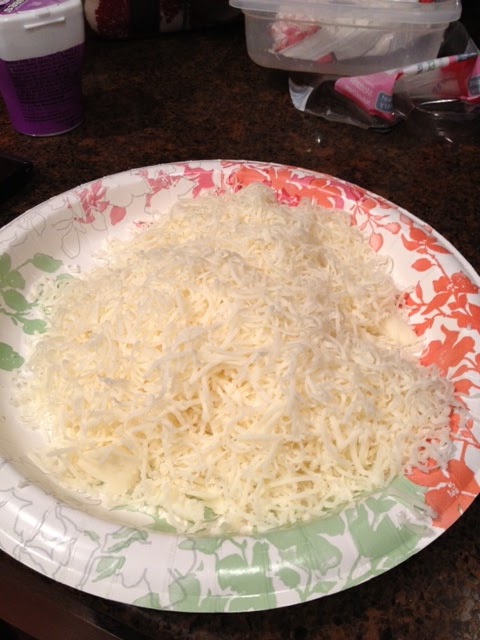
8 oz cream cheese
¾ cup of non-fat greek yogurt or sour cream
¼ cup grated parmesan cheese
¼ cup grated swiss cheese
2 garlic cloves minced
2 tablespoons of butter
2 tablespoons of olive oil
2 Tablespoons of red wine vinegar
1 tablespoon of chopped parsley

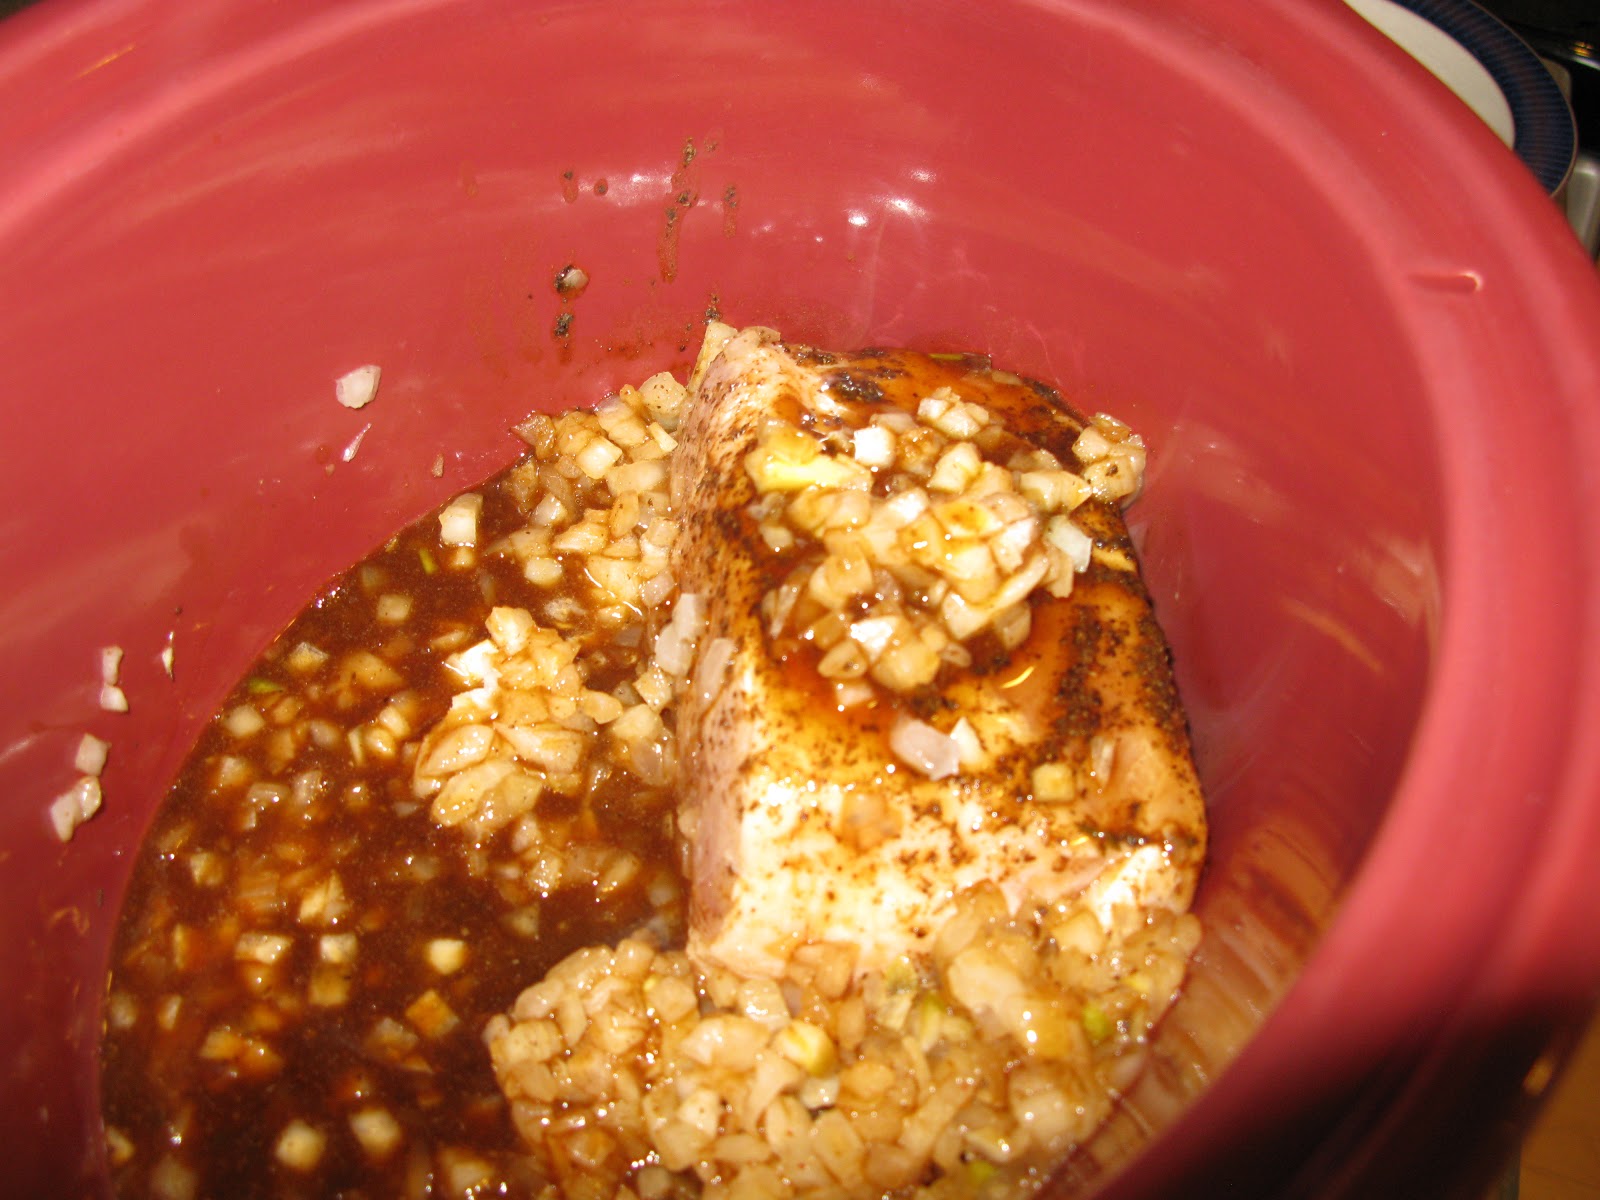
First caramelize the onions. Slice the onions into really thin pieces, and add to a pan over low-medium heat. Add butter, olive oil, red wine vinegar and garlic. Cook a little over an hour until the onions are caramelized. I will shoot you straight here….the process of making caramelized onions is not fun. It is a lengthy process and the entire time you can smell delicious onion cooking. In fact, it is torture. Every time I looked in the pan it seemed like there was no change. When did they turn the brown color of caramel?
Round 1. Onion 1 – Shanon 0
After about 5 minutes I got impatient. I cranked the heat a little. Foolish, FOOLISH I TELL YOU!! The onions were all burny and crisp in a bad way. Is it possible that I had been bested by an onion? For real? I have been shamed out of my own kitchen, and to make matters worse, NO DIP! After a few hours of pouting and blaming it on our stove (obviously it was the stove’s fault), I surrendered and went to buy more onions. I refuse to let something that smells like B.O. win. REFUSE.
Round 2. TRIUMPH!
I had no idea that caramelizing onions takes over an hour. I mean I have sautéd onions plenty of times and none of those events took over an hour. Otherwise I would have given up and ordered takeout. However, it was pointed out to me that sautéing and caramelizing are two VERY different things. Touche. This time I was patient. And by patient I mean I stalked the stove and did a drive-by every 2 minutes until they were FINALLY done. And then proceeded to eat some. Ok many.
Note: For all of you future entrepreneurs looking for the next business venture….create a company that sells pre-packaged caramelized onions. I will be first in line to buy your product and as long as they are delicious, I will endorse you when you apply to be on Shark Tank. Don’t let Mr. Wonderful talk you down!

While the onions are caramelizing, cook the bacon and then chop into little pieces. Once the onions are done, add the cream cheese, sour cream, parmesan and swiss to the pan and mix all together until the “pre-dip” is all melted together.


You may have noted that I called this pre-dip at this point. Although you can eat this warm, I found that it is exponentially better when it is cold. The warm dip is sort of like a junior high dance. Everyone is there, but everyone ignores each other. But then after a few hours suddenly everyone is dancing and the party has really started. Same thing here. The flavors all meld together and form a way better version of French onion dip. WAY better. I even brought some to our Field Snack Correspondent Nicole to sample.

We ate them with fritos and triscuits. Even without the dip, any excuse to eat fritos and triscuits is a win. I was all ready to score this as a 3 cheese wedge out of 6 when I tried it warm. Then I tried it again cold and it skyrocketed to a 5. No dip that takes over an hour to make, and then 2 hours of cooling will ever be a 6. I am sorry. But.....if you can con someone else into making it for you, I would say it is a 5.5.
This recipe makes 8 servings and each serving was 183 calories based on the ingredients I used (turkey bacon, fat free cream cheese and non-fat greek yogurt) and the expertise of www.myfitnesspal.com. Then add the calories of whatever you use as a dipping vehicle (a tear is rolling down my cheek for those of you that aren’t planning on using triscuits or fritos).
CHILI CHEESEDOG DIP
Shanon took pity on me this week, and gave me the easy Dip Assignment, because I've been working in the office instead of telecommuting. Like a grownup, having to wear real pants. And have shoes on ALL DAY. Clearly I wasn't up to the trials and tribulations of caramelizing onions or waiting for a dip to cool down to eat it. THUS: Chili Cheesedog Dip. Three ingredients and no bothersome "cooking."
Ingedients:

4 hot dogs
1 can of chili
Yep, that's ALL the ingredients. Chop the hot dogs...chop the Velveeta...open the can...dump everything in an oven safe dish. Stir.

Now: It's dip! Incredibly, incredibly salty dip. I say that with love, of course. I adore salt and believe that all dips should primarily taste of salt and cheese. But this one, while not TOO salty for me, it was nudging the line. For normal people not addicted to sodium, it might be over the edge. Also, I served it with Fritos scoops (also known as "chips of the gods") so that added an additional layer of salt. It's possible with a different dip vehicle, the salt level might not seem so aggressive.

It makes 4 servings. They are large servings, big enough that one serving can be "dinner," but with 545 calories for the dip, without the fritos (or other dippers) you probably need to plan ahead...run some miles...eat only celery for lunch...something. Based on the almost-too-salty flavor, and the high opportunity cost, I have to give chili cheesedog dip only 4 wedges out of 6.